Capturing the beauty of the night sky can be thrilling yet challenging. Photographers often wonder, "what are the best camera settings for night photography?" Mastering night photography requires a mix of technical knowledge and hands-on experience. The lack of natural light can create hurdles, leading to moments where you may question your approach.
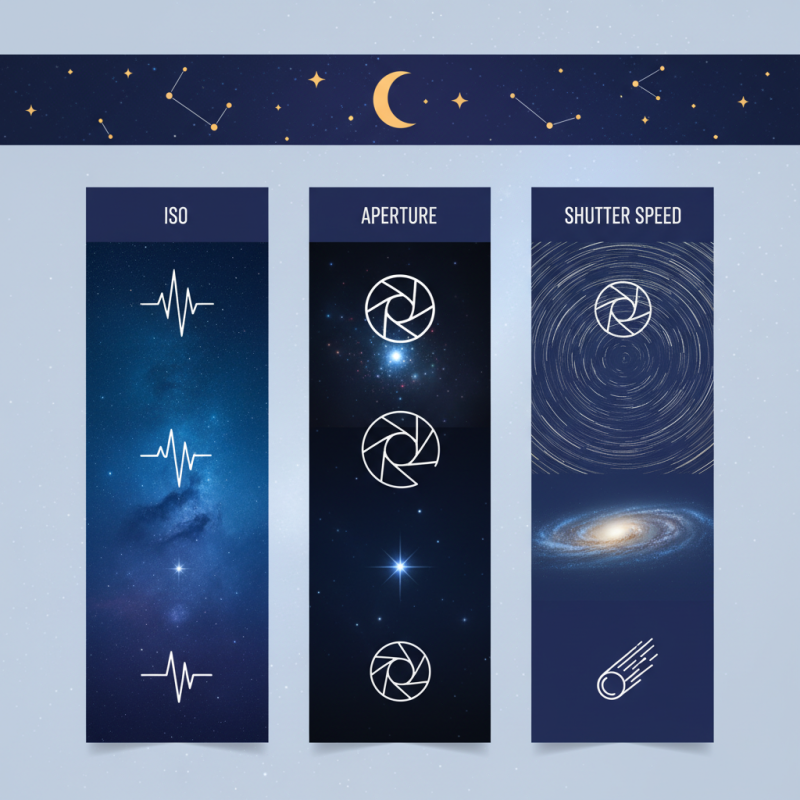
Understanding how to manipulate your camera settings is crucial. Options like ISO, aperture, and shutter speed play a pivotal role in getting the perfect shot. Each setting impacts the final image significantly. You might struggle with noise at higher ISO levels or blurry images due to slow shutter speeds. Experimentation is key, as what works for one scene may not work for another.
Learning from mistakes is part of the process. Sometimes, your photos may not turn out as expected. Reflecting on these moments can enhance your skills. In this guide, we will explore effective camera settings and practical tips. Together, we'll navigate the fascinating world of night photography, aiming for stunning results.
Best Camera Settings for Capturing Night Landscapes Effectively
Capturing night landscapes effectively requires understanding your camera settings. Start with a wide aperture, like f/2.8, to gather more light. This setting helps create a beautiful depth of field. At night, lower ISO settings are often ideal, but you might need to adjust to ISO 1600 or higher, depending on the scene's brightness. Keep in mind, higher ISO can introduce noise, so finding the right balance is crucial.
Shutter speed plays a vital role in night photography. A slower shutter speed, such as 15-30 seconds, can capture light trails from stars or moving objects. However, be cautious. Too long an exposure may wash out colors or create blurriness. Using a sturdy tripod is essential to minimize shake during these longer exposures. It’s easy to overlook this, but a slight shake can ruin an otherwise stunning shot.
Consider your framing carefully. Scouting locations beforehand can improve your final images. Focus on interesting foreground elements to add depth. It’s also wise to shoot in RAW format. This format retains more detail during post-processing, giving you options to enhance your photos. Keep practicing and analyzing your results; every shot can teach you something.
Best Camera Settings for Stunning Night Photography
Understanding ISO: The Key to Reducing Noise in Low Light Conditions
Capturing breathtaking night scenes can be challenging. One of the main factors influencing your results is ISO settings. Learning how to manage ISO helps you reduce noise. Noise can obscure details in your low-light images. To achieve clarity, start with a lower ISO setting, between 100 and 400. This helps maintain image quality.
As the light diminishes, adjust your ISO accordingly. Higher settings, like 1600 or 3200, can be necessary but often introduce grain. Experimenting is essential. Take test shots at different ISO levels. Pay attention to how each setting affects your images. You may find that some settings, while seemingly acceptable, produce less than desirable results. Always analyze your outcomes.
Use a tripod for stability, especially at longer exposures. This avoids motion blur and enhances the clarity of your images. However, some settings might demand alternative strategies. Be ready to adjust your aperture and shutter speed in response to changing conditions. Night photography requires patience and practice. Don't be afraid to take notes on what works and what doesn’t.
Shutter Speed Selection: Balancing Motion and Exposure in Night Photography
Night photography demands careful shutter speed selection. In low light, a longer exposure captures more detail. However, this can introduce motion blur. To find a balance, experiment with shutter speeds. A range of 1/60 to 1/30 seconds often works well for cityscapes. This allows for light trails while keeping static elements sharp.
Consider your subject's movement. If you're photographing people or vehicles, a faster shutter speed may be necessary. Try 1/250 seconds to freeze motion. When capturing a still scene, slow down the shutter to 2 seconds or more. Use a tripod to minimize camera shake. Long exposures can create a dreamlike quality, but too long can wash out colors.
Setting the ISO is equally important. A higher ISO can help, but it adds noise. Finding the right combination requires practice. Take multiple shots to see what works best. Don’t hesitate to adjust your settings as needed. Reflect on each shoot. What could be improved next time? Night photography is about experimenting and learning. Embrace the imperfections; they often lead to unique results.
Best Camera Settings for Stunning Night Photography Tips
| Setting |
Recommended Value |
Notes |
| Shutter Speed |
1-30 seconds |
Longer speeds capture more light but can blur motion. |
| Aperture |
f/2.8 - f/4 |
Wider apertures allow more light; be aware of depth of field. |
| ISO |
800 - 3200 |
Higher ISO improves low-light performance but may introduce noise. |
| White Balance |
Tungsten/Manual |
Adjust according to the light sources in the scene. |
| Focus Mode |
Manual Focus |
Use manual focus to ensure sharp images in low light. |
Aperture Settings: How Focal Length Affects Depth of Field at Night
When capturing night scenes, understanding aperture settings is crucial. The focal length of your lens significantly influences depth of field, particularly at night. A longer focal length reduces depth of field, focusing attention on a specific subject while creating a beautiful, blurred background. A report by the American Photographic Society indicates that optimal aperture for night photography often falls within the f/2.8 to f/4 range for low-light performance.
By using a wide aperture, you allow more light to enter the camera. This can result in stunning bokeh effects, enhancing the aesthetic appeal of your images. However, wider apertures can also introduce softness in the image due to lens aberrations. A prime lens can mitigate this issue. Many photographers report a struggle with sharpness despite ideal settings. Testing different apertures in real conditions is essential.
Additionally, consider the effects of ISO settings and shutter speed. A higher ISO can amplify noise, which might compromise image quality. Striking a balance is key to achieving sharp, vibrant night photos. Sometimes, it may take numerous attempts to find the right combination. An anecdote from a recent workshop suggests that experimenting with depth of field can lead to surprising results that are not attainable with conventional methods.
Utilizing Tripods and Stabilization Techniques for Sharp Night Shots
Capturing the beauty of night scenes requires more than just a good eye; it demands the right techniques. Utilizing a tripod is crucial for sharp night shots. Even the slightest movement can result in blurry images. A solid tripod provides stability, allowing for longer exposure times without unwanted shake. It also frees your hands, enabling you to focus on composition and creativity.
Stabilization techniques are equally important. If you're shooting without a tripod, consider using image stabilization features within your camera or lens. This can help counteract small movements. Alternatively, lean against a steady surface or use your body to brace the camera. Additionally, experiment with higher ISO settings while maintaining acceptable noise levels. Balancing exposure and clarity can be challenging but is essential for stunning results.
While these techniques can significantly improve your nighttime photography, achieving perfection can be elusive. Sometimes, images turn out grainy or improperly exposed. These moments are opportunities for growth. Analyze what went wrong and learn from your mistakes. Night photography can be unpredictable, but it’s also immensely rewarding when you capture that perfect shot.
FAQS
: ISO influences noise levels. Lower settings maintain quality, while higher settings introduce grain.
Start with an ISO between 100 and 400. Higher settings can go up to 3200 if needed.
A tripod ensures stability, preventing motion blur during longer exposures. This enhances clarity.
Longer exposures capture more detail, but can cause motion blur. Experiment to find the right balance.
Try a shutter speed between 1/60 and 1/30 seconds for light trails and sharp details.
Yes, adjust shutter speed for moving subjects. A faster speed like 1/250 seconds can freeze motion effectively.
Use lower ISO settings and analyze the impact of each setting. Experimentation is key.
Yes, embrace imperfections. They can lead to unique and interesting results in your photography.
Take notes during your shoots. Reflect on what worked and what didn’t to enhance your skills.
Practice helps you learn how to balance settings. Each attempt teaches valuable lessons for future shots.
Conclusion
When exploring what are the best camera settings for night photography, it's essential to master the fundamentals of exposure—namely ISO, shutter speed, and aperture. A crucial aspect of night photography is understanding ISO, which helps in reducing noise in low light conditions. A lower ISO is often preferable, but it may require longer exposure times to capture the necessary light.
Shutter speed is another vital factor, as it balances motion and exposure; a slower shutter allows for more light but increases the risk of blur from movement. Additionally, aperture settings play a significant role, where the focal length affects depth of field, influencing how much of the scene is in focus. To achieve sharp night shots, utilizing tripods and stabilization techniques is critical. By combining these settings effectively, photographers can truly capture the stunning beauty of night landscapes.