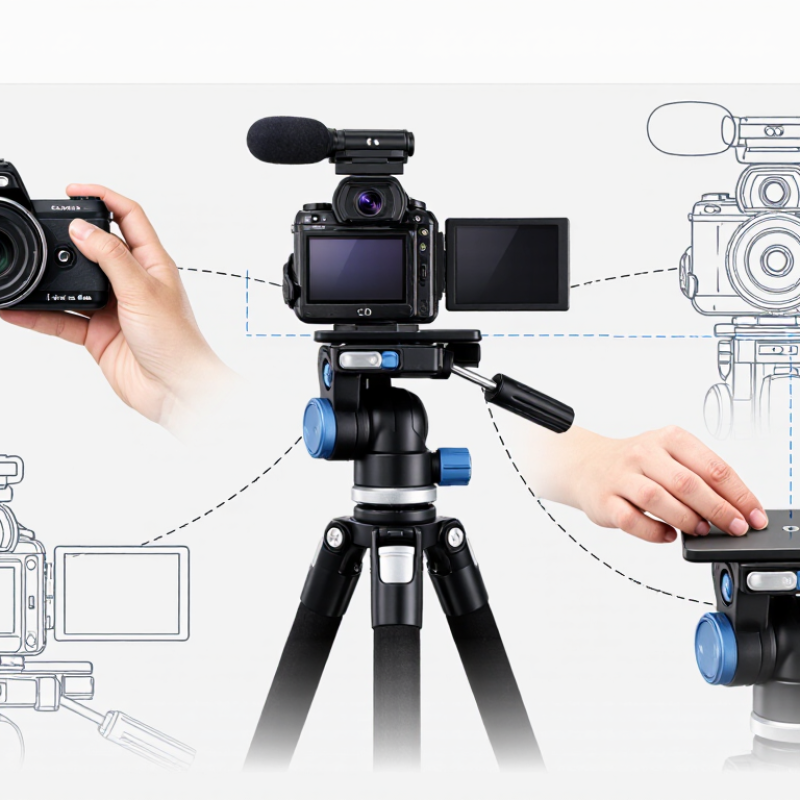
| 1 |
Tripod Load Capacity |
The tripod head and legs should support the camera, lens, battery, microphone, monitor, and other mounted accessories with additional safety margin. |
Add the weight of all attached equipment and compare the total with the load rating shown on the tripod or head. Avoid operating at or above the stated limit. |
Prevents unwanted movement, excessive strain, and possible equipment damage. |
| 2 |
Mounting Screw Size |
Most camera tripod sockets use a 1/4"-20 thread; larger professional heads may use a 3/8"-16 connection or an adapter. |
Inspect the camera socket and quick-release plate. Turn the screw by hand first and do not force a mismatched thread. |
A correct thread prevents cross-threading and keeps the camera securely attached. |
| 3 |
Quick-Release Plate |
The plate must sit flat against the camera base, with the locating pin retracted or correctly positioned. |
Align the plate with the camera socket, tighten the screw firmly by hand, and check that no cable, dirt, or raised surface creates a gap. |
A flat connection reduces twisting and keeps the camera aligned during movement. |
| 4 |
Safety Lock Engagement |
The quick-release plate should click or lock fully into the head before the camera is released. |
Hold the camera with one hand, operate the release mechanism, and gently lift the camera to confirm that the plate remains locked. |
Reduces the risk of the camera sliding out of the head accidentally. |
| 5 |
Tripod Leg Position |
Spread all legs evenly and place the feet on a firm, non-slip surface. |
Keep the center column as low as practical, especially with a heavy camera or when recording at an angle. |
A wider base and lower center of gravity improve stability and reduce vibration. |
| 6 |
Bubble Level |
Center the bubble within the marked circle before framing the shot. |
Adjust individual leg lengths or the leveling base instead of relying only on the center column. |
A level base helps maintain a straight horizon and smoother pan or tilt movement. |
| 7 |
Camera Balance |
The camera should remain close to its selected position when the head tilt lock is loosened. |
Loosen the tilt control slightly and slide the camera forward or backward on the plate until it no longer falls toward the lens or rear side. |
Correct balance reduces the force needed to tilt and protects the head mechanism from overload. |
| 8 |
Center of Gravity at Any Angle |
The camera should not drift rapidly when tilted upward or downward within the intended operating range. |
Test several angles gradually while holding the camera. Tighten the tilt control only after the camera is balanced. |
Confirms that the setup is safe for high-angle, low-angle, and diagonal compositions. |
| 9 |
Pan and Tilt Resistance |
Movement should be smooth, controlled, and free from sudden drops or excessive looseness. |
Move the head slowly from left to right and from level to a moderate tilt. Adjust drag controls if available. |
Smooth resistance helps produce stable footage and accurate framing. |
| 10 |
Cable and Accessory Clearance |
Cables should have enough slack and should not pull against the camera or tripod head. |
Connect the microphone, monitor, power, and storage accessories, then move the camera through the planned range. |
Prevents cable snags, unexpected camera movement, and damaged connectors. |
| 11 |
Stability Test |
The framing should remain steady after the camera is released and after the head controls are locked. |
Apply a light touch to the camera or tripod handle, remove your hand, and observe whether the image settles without repeated bouncing. |
Identifies loose locks, unstable surfaces, or excessive center-column extension before recording. |
| 12 |
Final Recording Test |
Record a short test clip at the required focal length, frame rate, and camera angle. |
Review the clip for horizon alignment, vibration, focus stability, exposure, audio interference, and unwanted head movement. |
A short test confirms the complete setup before important footage is captured. |
 Vuelo Camera